One simple habit that protects a third of your teeth that brushing completely misses
How to Floss Correctly for Every Age: A Family Guide
Brushing gets all the attention. Flossing gets skipped.
It’s the most common pattern we see at The Smile Place. Families who brush consistently and well, but treat flossing as optional. The problem is that a toothbrush, no matter how good, cannot physically reach the spaces between your teeth. That’s roughly 35% of each tooth’s surface that goes uncleaned every single day without floss.
The good news: flossing correctly doesn’t take long, it’s not complicated, and the technique changes just enough by age that a little guidance goes a long way. Here’s exactly how every member of your family should be doing it.
Why Flossing Actually Matters
Before the how, a quick reminder of the why, because “the dentist told me to” isn’t always enough motivation at 10pm.
The spaces between teeth are warm, dark, and hard to reach. They’re exactly where plaque likes to hide and where cavities most commonly form in adults. They’re also where gum disease begins. Gingivitis, the early, reversible stage of gum disease, almost always starts in the gumline between teeth, precisely where brushing stops short.
Flossing once a day removes:
- Food particles trapped between teeth
- Plaque from surfaces the brush can’t touch
- Bacteria from just below the gumline
It also stimulates the gum tissue, which helps keep it firm and healthy over time. Skipping it isn’t a minor omission. It’s leaving a significant portion of oral hygiene undone, regardless of how well you brush.
How to Floss Correctly: The Basic Technique for Adults and Older Teens
Most adults who floss are doing it partially right. Here’s the full technique:
Step 1: Use Enough Floss
Pull out about 18 inches of floss. This sounds like a lot, but the reason matters: you want to use a fresh section of floss for each tooth. Reusing the same section just redistributes bacteria from one gap to the next.
Step 2: Wind It Correctly
Wind most of the floss around the middle finger of one hand and a small amount around the middle finger of the other. Using your middle fingers (not index fingers) leaves your index fingers and thumbs free to actually guide and control the floss.
Step 3: Hold It Taut
Pinch the floss between your thumbs and index fingers, leaving about an inch of floss to work with. Keep it taut — slack floss won’t do the job.
Step 4: Slide, Don’t Snap
Guide the floss gently between teeth using a zigzag motion. Never snap it down into the gums. Snapping causes bleeding, damages gum tissue over time, and is the main reason people say flossing hurts. If the contact between two teeth is tight, ease the floss through slowly with a back-and-forth sawing motion.
Step 5: Curve Around Each Tooth
This is the step most people miss. When the floss reaches the gumline, curve it into a C-shape around one tooth and slide it gently beneath the gumline, about 1–2 millimeters. Hold it against the tooth surface and move it up and down several times before moving to the next tooth. Then curve it around the adjacent tooth and repeat.
You’re cleaning two tooth surfaces at every gap. The side of the tooth on the left and the side of the tooth on the right.
Step 6: Advance to Fresh Floss
As you move from tooth to tooth, unwind a fresh section of floss from one finger and take up the used section on the other. Clean floss for every gap.
Step 7: Don’t Forget the Back Sides
The backs of your last molars are easy to forget. Floss behind the very last tooth on each side, top and bottom. It’s often where plaque builds up unnoticed.
How to Floss Children’s Teeth: Ages 2–6
As soon as two teeth are touching, which usually happens somewhere in the toddler years, flossing should begin. You can’t floss a tooth that has space around it, but the moment teeth are in contact with each other, plaque can hide between them.
At this age, a parent does all the flossing. Children ages 2–6 don’t have the dexterity, the patience, or the understanding of why it matters to do this themselves.
The easiest tool for this age: floss picks. The small Y-shaped or F-shaped handles make it much easier to maneuver in a small mouth without requiring two hands. Hold your child’s head steady. Lying in your lap works well for very young children, and use gentle, careful strokes.
Tips for flossing toddlers and young children:
- Keep it quick and matter-of-fact. The more you dread it, the more they will too
- Use the same gentle C-shape technique, scaled down for tiny teeth
- Make it part of the nighttime routine immediately after brushing
- Praise the cooperation, not just the result
How to Floss Children’s Teeth: Ages 6–10
Children in this age range are often keen to do things themselves, but they’re not ready to floss independently yet. A parent should still do the flossing, or at a minimum, supervise closely and finish what the child misses.
Fine motor skills develop at different rates, and the wrist movement required to floss properly, especially on back teeth, is genuinely difficult for most children under 10. Studies show that children don’t develop the coordination to floss effectively on their own until around age 10–11.
What works well for this age:
- Floss picks remain the easiest tool
- Water flossers are a great option for children who resist traditional floss — the stream of water cleans between teeth effectively, and most kids find it fun rather than annoying.
- Let children practice on their front teeth while you handle the back, which builds the habit and the skill simultaneously
How Children Ages 10–12 Can Start Flossing Independently
Around age 10, many children have the coordination to begin flossing on their own — but they still need to be taught properly and checked on regularly. Left to their own devices, most will do a quick pass that misses most surfaces.
Teach the full technique, not just the concept. Sit with them at the mirror and walk through each step. Watch them do it once and give specific feedback — “curve it around the tooth more” is more useful than “do it better.”
A water flosser can make independent flossing much easier for this age group. The learning curve is lower, compliance tends to be higher, and it removes the dexterity barrier that makes string flossing frustrating for some kids.
Flossing for Teens: The Hardest Age Group
Teenagers are the most likely age group to skip flossing, and the most likely to have cavities form between teeth as a result. The combination of independence, distraction, and invincibility makes the nighttime floss easy to rationalize away.
A few things that help:
- Electric flosser or water flosser — lower friction, higher compliance. If the barrier to starting is low, it actually gets done.
- Keep floss visible — on the counter, not in the drawer. Out of sight, out of mind is real.
- Connect it to something they care about — fresh breath, appearance, not having to get work done at the dentist
- Floss picks on the nightstand — for nights when the full bathroom routine feels like too much, a floss pick is better than nothing
- Teens with braces need to floss with particular care. A floss threader or orthodontic flosser makes it possible to get under the wire. A water flosser is also highly effective around brackets and wires where string floss is genuinely difficult to use.
Flossing for Adults: Common Mistakes to Fix
Even committed adult flossers often have technique gaps. The most common ones:
Using too little floss. If you’re pulling out 6 inches and reusing the same section through every tooth, you’re redistributing plaque rather than removing it. Use 18 inches every time.
Skipping the C-shape. Sliding floss straight up and down between teeth without curving it around the tooth surface only cleans the contact point, not the sides of the teeth or the gumline pocket where plaque lives.
Stopping when gums bleed. Bleeding gums during flossing almost always mean inflammation caused by plaque buildup; in other words, proof that flossing is needed, not a reason to stop. With consistent daily flossing, most people see bleeding stop within 1–2 weeks as gum tissue becomes healthier. If bleeding persists beyond two weeks of daily flossing, it’s worth mentioning at your next visit.
Flossing before brushing. The sequence matters. Floss first, then brush. Flossing loosens food particles and plaque between teeth; brushing sweeps them away and delivers fluoride to those freshly cleaned surfaces.
Rushing. Thirty seconds of flossing for a full mouth isn’t flossing — it’s theater. Done properly, flossing 28–32 teeth takes 2–3 minutes.
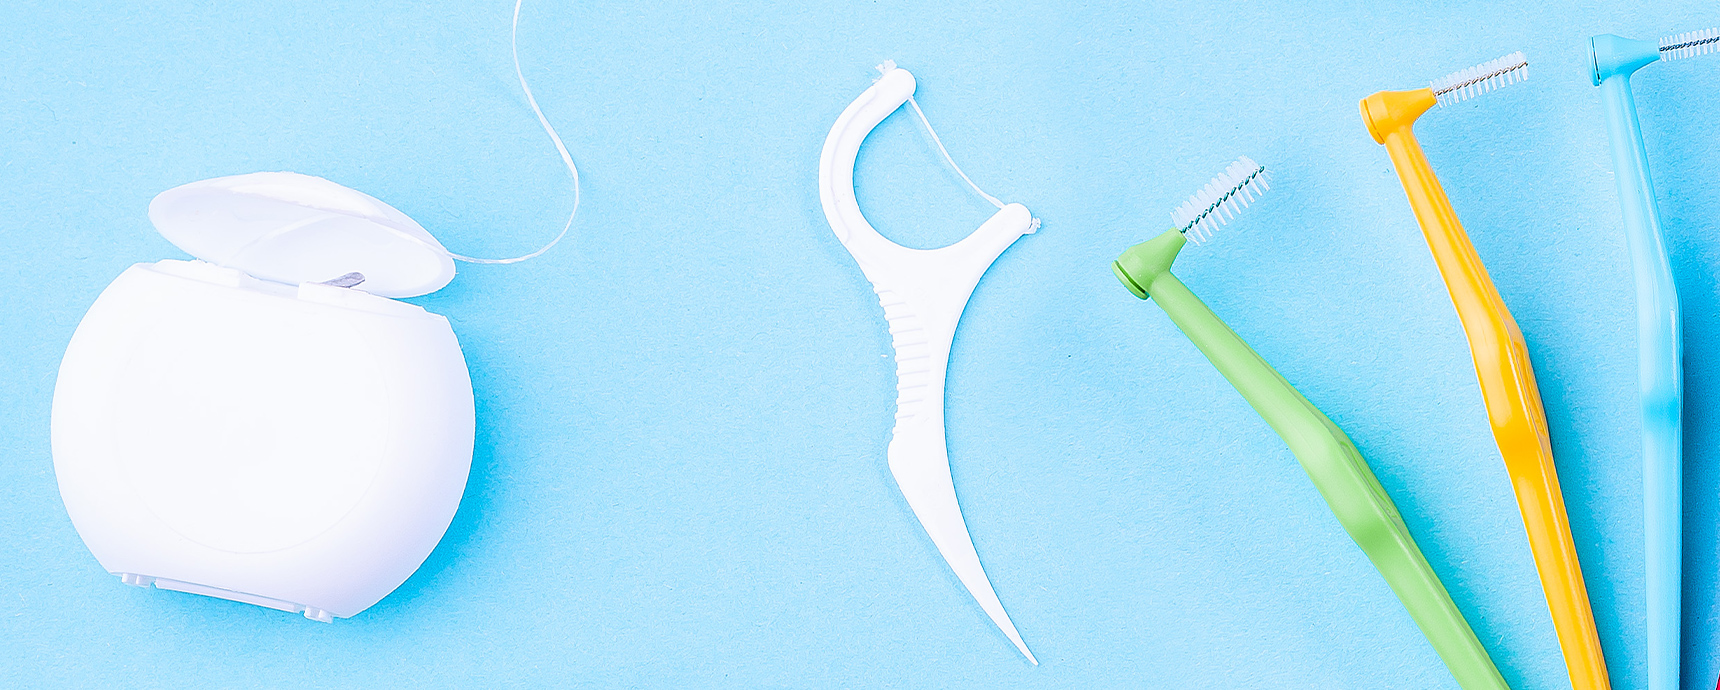
Choosing the Right Floss for Your Family
Not all floss is the same, and different family members may do better with different types:
Waxed floss slides more easily between tight contacts and is less likely to shred. Good for adults and older teens with closely spaced teeth.
Unwaxed floss is thinner and fits into very tight spaces. It squeaks against clean teeth, which some people use as confirmation they’ve cleaned the surface properly.
Floss picks are the practical choice for children and anyone who struggles with the two-handed string technique. Less ideal for the full C-shape technique, but still far better than no flossing.
Dental tape is wider and flatter — often more comfortable for people with wider spaces between teeth or sensitive gums.
Water flossers use a pressurized stream of water to clean between teeth and below the gumline. Highly effective, especially for braces, implants, bridges, and anyone with limited dexterity. They’re not a substitute for string floss in all cases, but are a genuine alternative for people who simply won’t use string floss consistently.
Interdental brushes are small brush-tipped picks that work well for larger gaps, around implants, and under bridge work.
How Often Should You Floss?
Once a day is the goal, and once a day is enough when done correctly. Timing matters less than consistency, though most dentists recommend flossing at night before bed so you’re not leaving the day’s accumulation of food and plaque in contact with your teeth overnight.
If once a day feels like too much of a lift right now, start with three times a week and build from there. Some flossing is always better than none.
What to Expect When You Start Flossing (or Restart)
If you haven’t flossed regularly in a while, expect:
- Bleeding for the first week or two — this is inflammation, not injury. It resolves with consistent flossing.
- Soreness around the gumline — gums that haven’t been stimulated will be sensitive at first. This passes.
- More debris than expected — unsettling but informative. That’s what was sitting between your teeth.
By day 10–14 of daily flossing, most people notice noticeably less bleeding, less sensitivity, and fresher breath. Those changes are the body responding to a cleaner environment.
When to See the Dentist
Flossing is essential home care, but it works alongside professional cleanings, not instead of them. Even perfect daily flossing can’t remove tartar (hardened plaque) once it forms. Only a professional cleaning can do that.
If you notice any of the following, it’s time to call us:
- Bleeding that doesn’t improve after two weeks of consistent flossing
- Gums that are red, swollen, or pulling away from the teeth
- Persistent bad breath that doesn’t respond to brushing and flossing
- Pain between teeth or at the gumline
Our team at The Smile Place is always happy to walk through flossing technique during your visit — sometimes seeing it demonstrated makes all the difference. You can reach us at 845-534-2030 (Cornwall) or 845-342-2125 (Middletown).
A Quick Reference: Flossing by Age
Age | Who Flosses | Best Tool |
First touching teeth – age 6 | Parent only | Floss picks |
Ages 6–10 | Parent-assisted | Floss picks or water flosser |
Ages 10–12 | Child with supervision | String floss or water flosser |
Ages 12–18 | Independent (with reminders) | Water flosser or floss picks |
Adults | Independent | String floss, water flosser, or picks |
Braces/implants/bridges | Any age | Water flosser + threader |
The Bottom Line
Flossing correctly isn’t complicated, but technique, consistency, and using the right tool for each age group all matter. A toothbrush alone leaves a third of every tooth’s surface untouched. Flossing fills that gap, and the difference it makes to long-term gum health, cavity rates, and even breath is real and measurable.
Start where you are, use whatever tool your family will actually use, and build it into the routine right after brushing every night. Your gums will tell you it’s working within two weeks.
The Smile Place Family Dentistry serves families in Cornwall and Middletown, NY. To schedule an appointment or ask about any of our services, call us at 845-534-2030 (Cornwall) or 845-342-2125 (Middletown).